SI3100
Surface Defect Detector
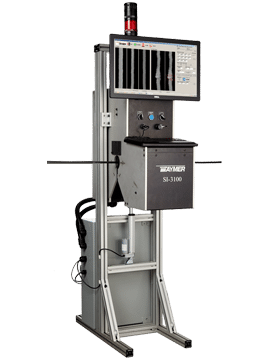
The Surface Inspector (SI3100) is the only tool that can capture, analyze, and judge every square millimeter of your product-cable jacket, pipe, tube, bar stock or water soluble tape. It is the most thorough method of detecting surface flaws available.
The Surface Inspector ensures your product will be free from surface defects and helps to surpass internal quality grades and exceed your customers’ high standards.
Quality Assurance
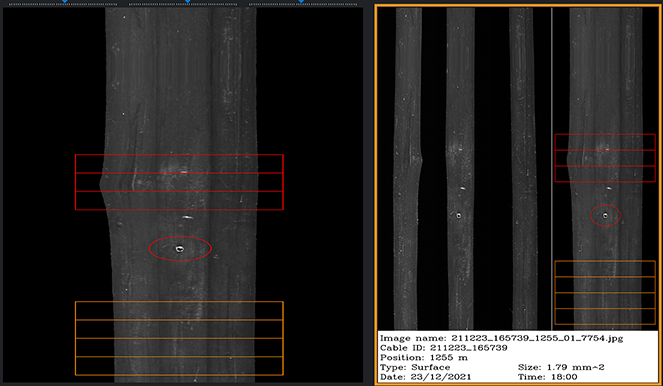
Benefits of the Surface Inspector include the capability to capture images of your printed cable, save the images to disk and print them out to include in your quality reporting both internally and to your customers. The Surface Inspector’s heads up display provides easy access for engineering and production supervisors to inspect the defect. Defect locations can also be recorded, this will allow for further analysis of the defects later on.
Reduced Surface Defects
Enable your operator with instantaneous digital image feedback of the current jacket, bar or water soluble tape quality on any production line equipped with the Surface Inspector. Outputting a continuous stream of real time information – especially the failure images – allows the operator to isolate causes of jacket imperfections and water soluble tape folds. This result allows you to identify the causes of surface defects and prevents customer complaints or rejects.


Features
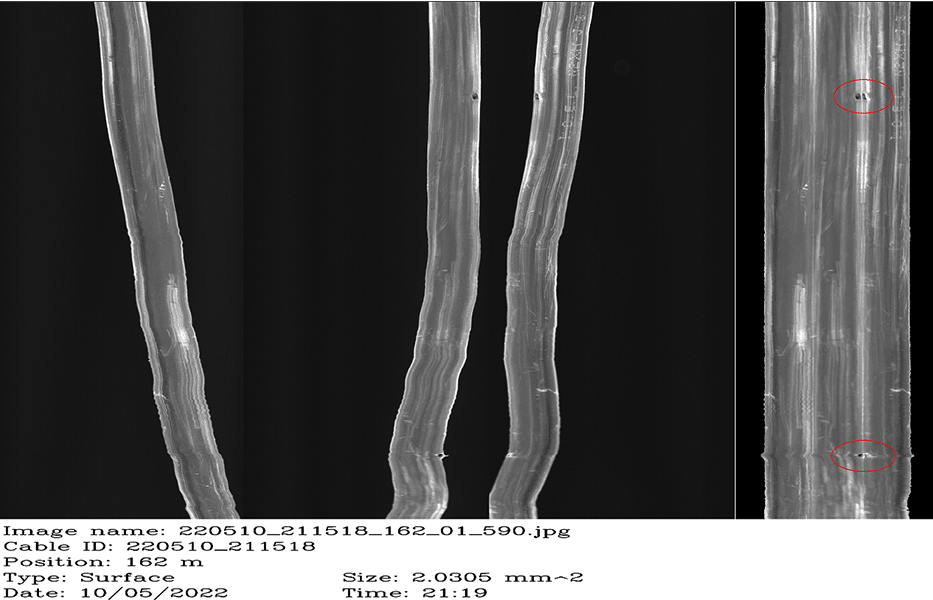
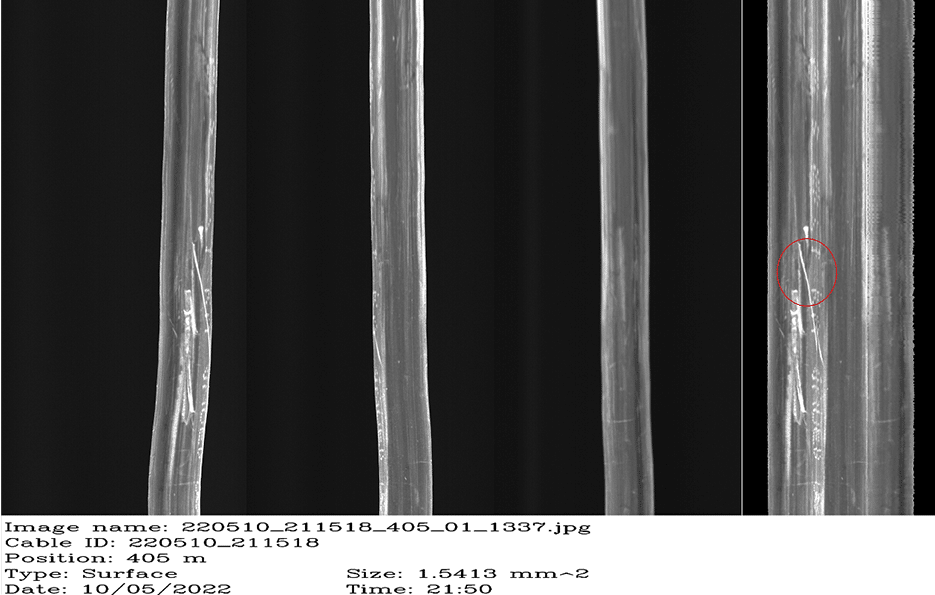
- Detects pinholes, bulges, neckdowns, surface blemishes on wire / cable jacket, metal tube, bare wires, tape mis-wrapping and more
- Supports line speeds up to 400 meters per minute (Exact speed depends on application)
- 3-camera configuration integrated into a one-box design
- Alerts operator and production machinery upon discovery of defect
- Records any defects for QA records and operator verification
- Saves length for the detected defects to allow operators to easily locate them
- Software analyzes full circumference and 100% of product length
Specifications
- Maximum Line speed:
400 meters per minute / 1,300 feet per minute – Exact speed will depend on application - Minimum detectable defect size:
0.1 mm and up Exact size depends on application - Cable Diameter Range:
0.5 mm – 30 mm (Other diameters upon request) - Camera Configuration
- 4 Camera – 100% coverage of large cable diameters (>30mm)
- 3 Camera – 100% coverage of all cable diameters (<30mm)
- 2 Camera – detects most defects (narrow cable diameter range)
- 1 Camera – inspects wrapping information such as lay angle and distance (narrow cable diameter range)
- Pixels per square mm
- ~100 for large diameter cable jackets and tapes
- ~500 for small diameter cable jackets and tapes
- Up to 100,000 for metal pipe, bar and plate
- Percent overlap between images:
5%
- Image processing:
All images from all cameras are read, enhanced and analyzed, resulting in 100% product coverage at maximum line speed - Type of defects detected
- Jacket defects
- Pin Holes
- Neck downs
- Bulges
- Water soluble tape coverage
- Pipe, Tube and Bar scratches or other imperfections
- Lighting:
LED - Location:
Before Printer, on wires without print legends - Power Supply:
110V or 220V depending on choice - Dimensions
- 18″ x 18″ x 20″ – L x W x H (without stand)
- 457 x 457 x 508mm – L x W x H
- Custom stands can be built

