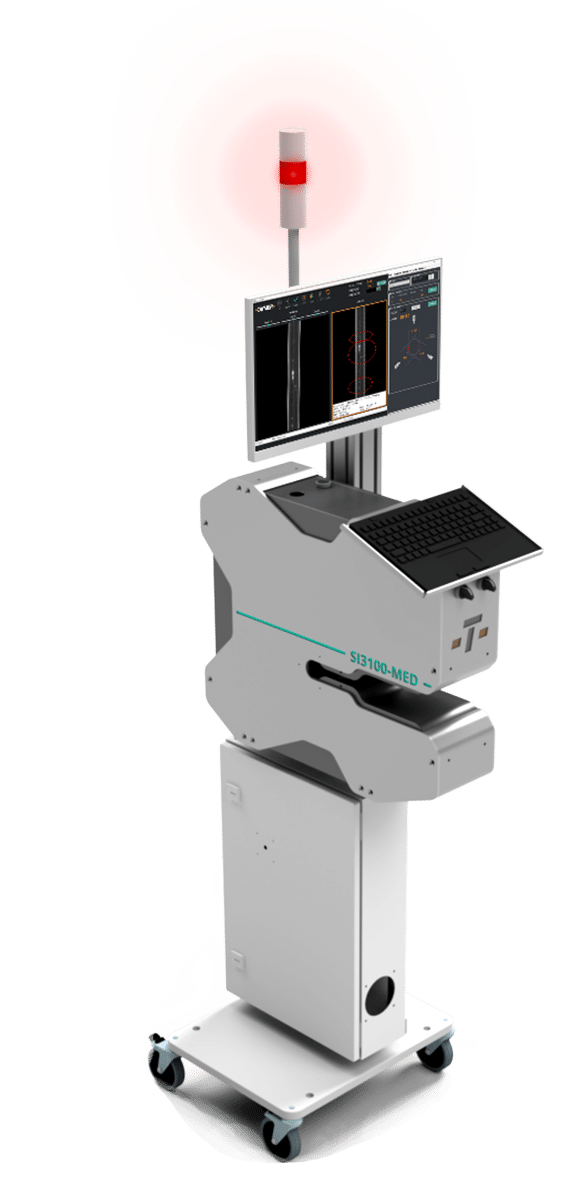
SI3100-MED
Medical Tubing Surface Defect Inspector
The Surface Inspector for medical tubing (SI3100-MED) is the only tool that can capture, analyze, and judge every square millimeter of your medical tubing product. It is the most thorough method of detecting surface flaws available.
With Taymer’s Surface Inspector, you can be sure the product going to your customers meets your high standards and is without surface defects
Looking for other medical solutions? Click here
Reduced Surface Defects
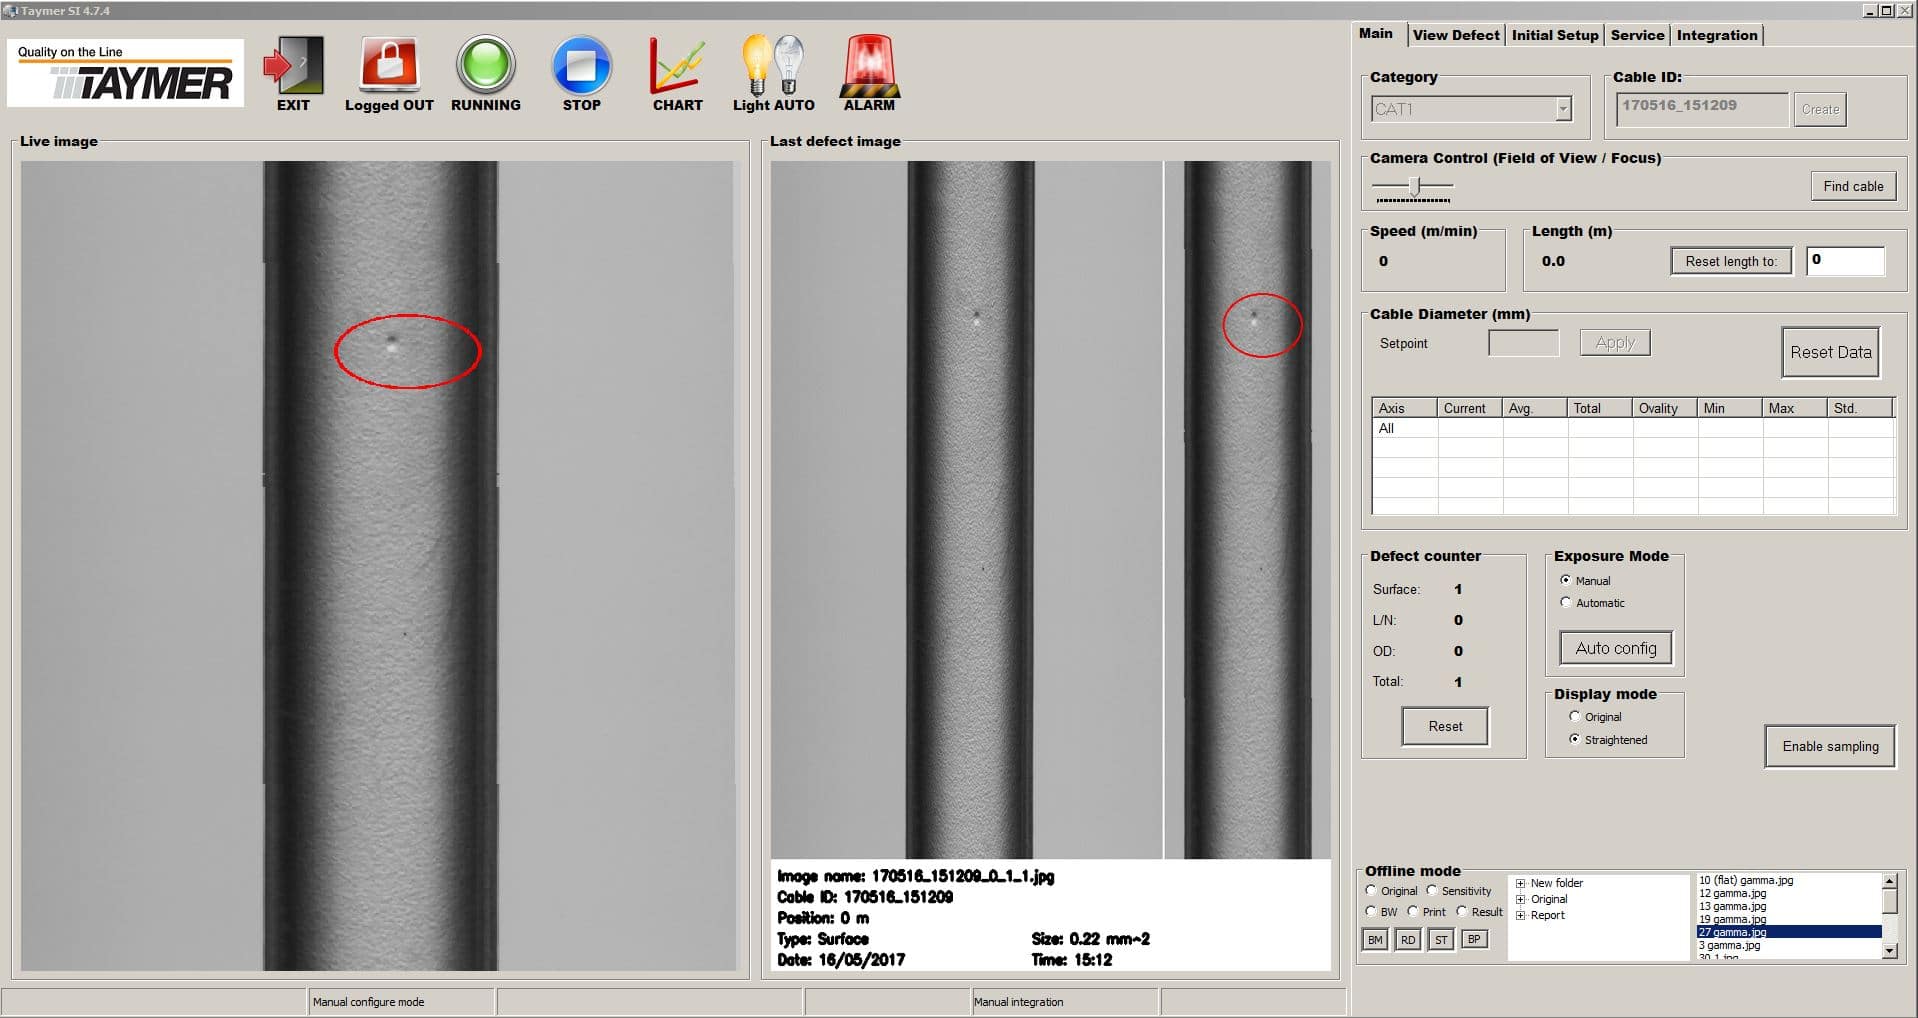
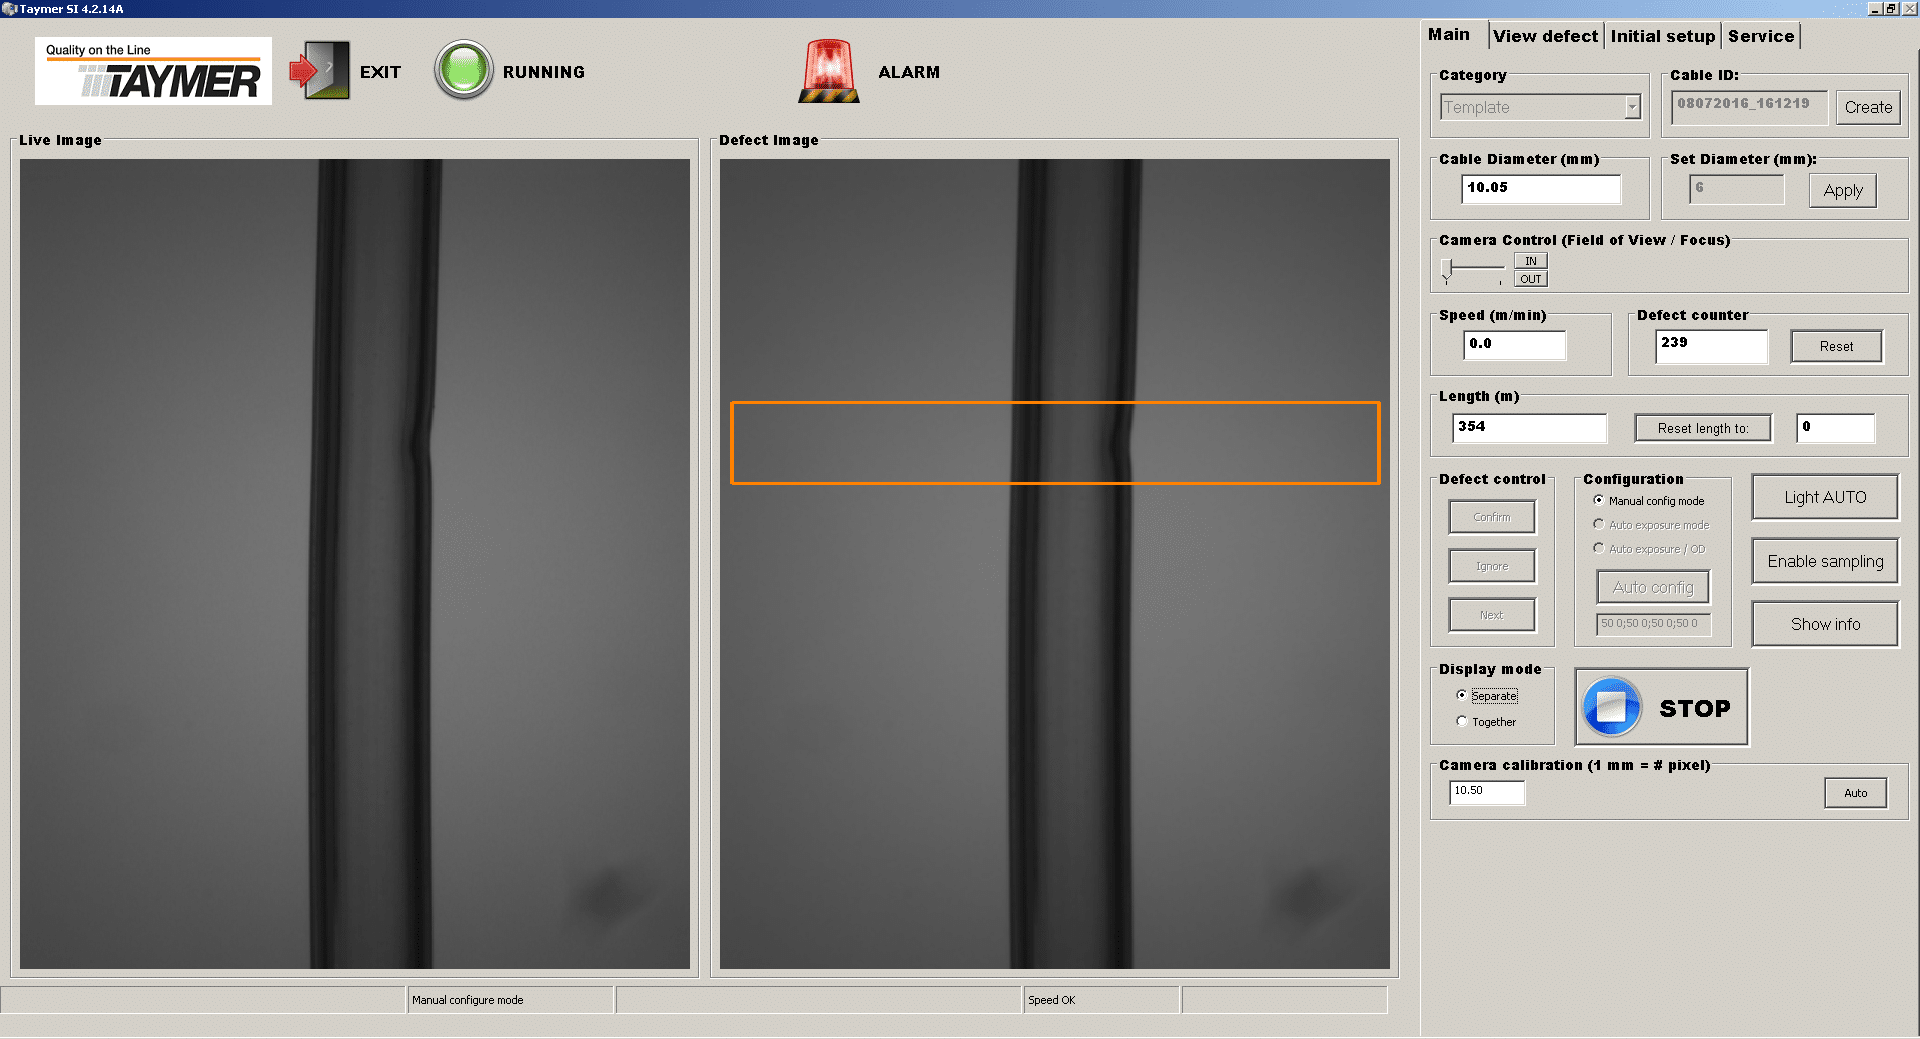
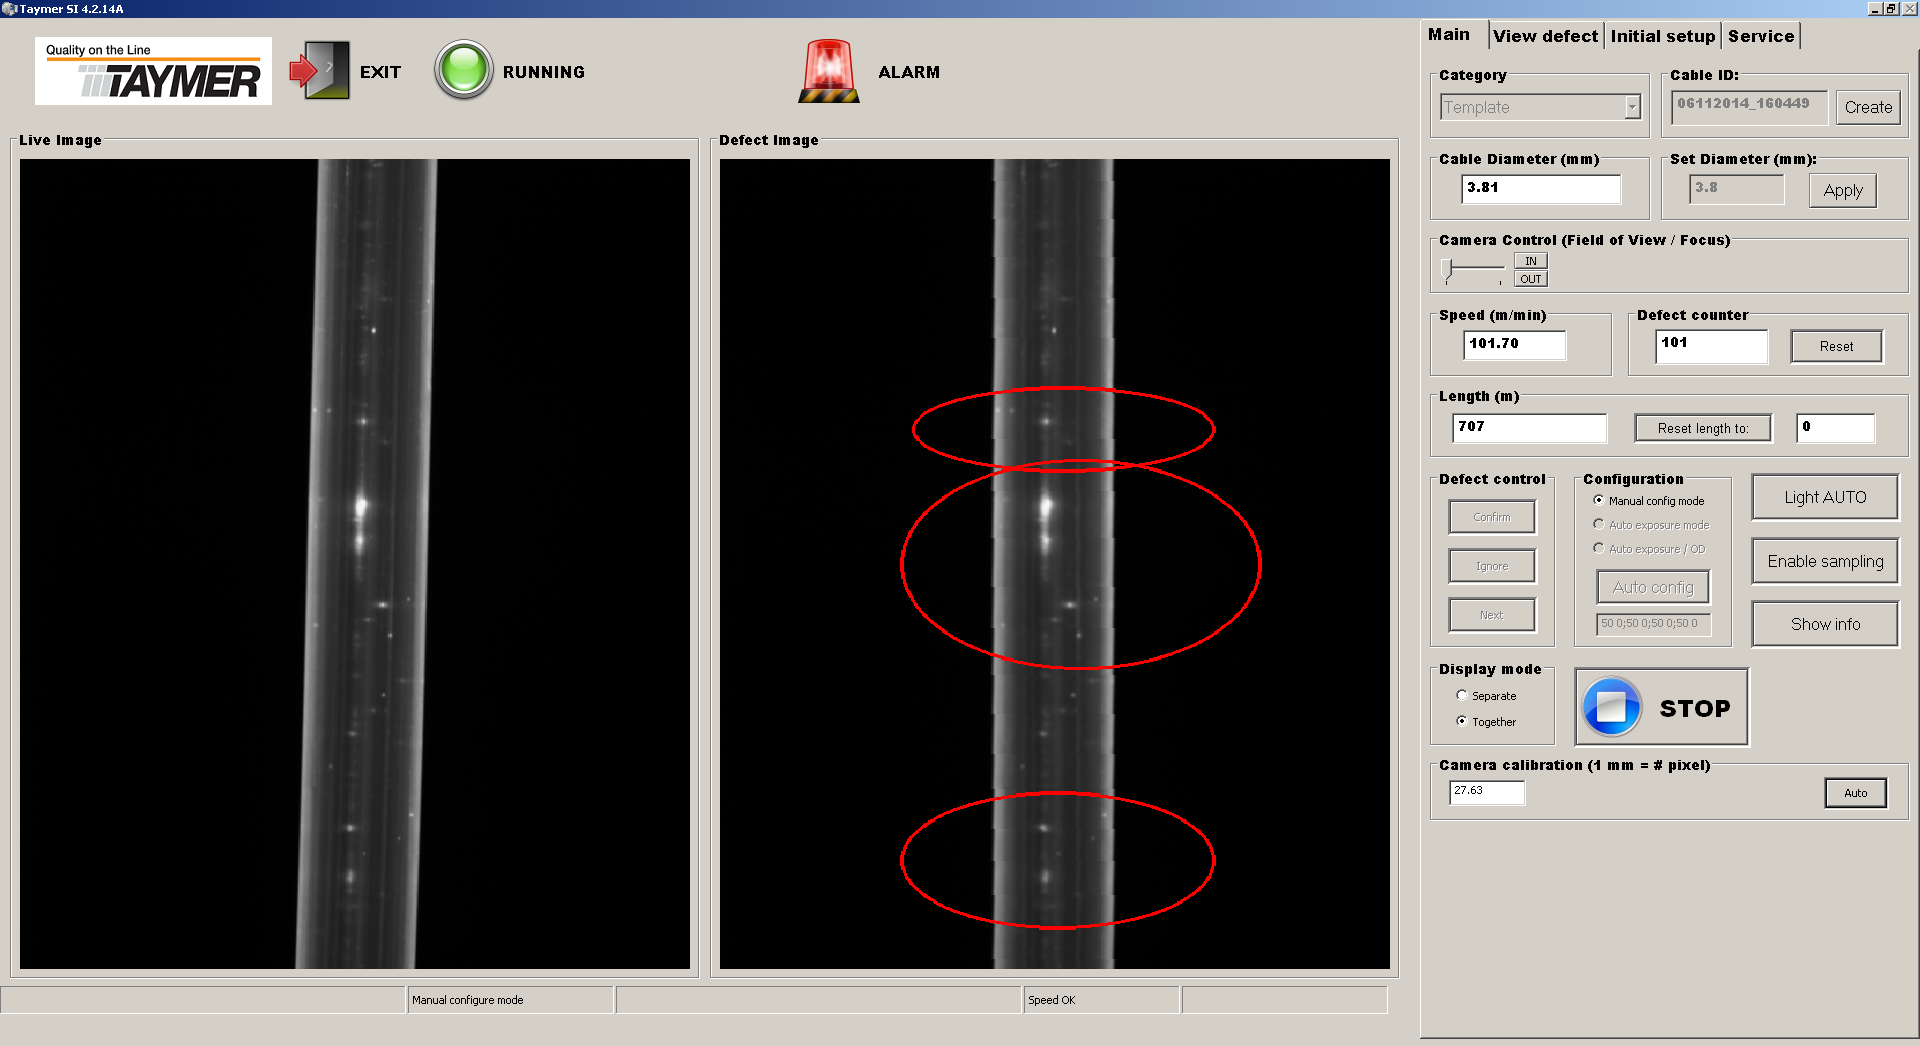
The medical tubing surface defect inspector provides the operator with a view of current surface images as well as the most recent surface defects with defect dimensions. This continuous stream of real time information – especially failure data – allows the operator to isolate the causes of surface imperfections. Identifying when and how a defect occurs allows your technical staff to reduce occurences of surface defects and prevent customer complaints and rejects.
Quality Assurance
The Surface Inspector will capture images of your tubing, save the images to disk and allow you to print them out to include in your quality reporting both internally and to your customers. The Surface Inspector‘s display also makes it easy for engineering and production supervisors to examine the defect without having to see the defect itself. Defect locations are recorded together with the image of the defect allowing your operators to find and eliminate defects before they reach your customers or fail in the field.


Features
- Detects gels, voids, pinholes, bulges, neckdowns, contaminants, blemishes, and scratches on tubing
- Supports line speeds up to 400 meters per minute or 1,300 feet per minute
- 3 camera configuration to provide 360° coverage of product surface and 100% of product length
- Includes customizable stainless steel enclosure and industrial stand
- Alerts operator and production machinery if any defects are found
- Records any defects for QA records and operator verification
- Accurately measures and records tube diameter along 1 or 3 axes
- Saves length information for each defect to allow operators to easily locate the defects after detection
- Integrates with external PLC to provide defect and product measurement information
- Generates reports containing relevant product diameter, defect, and measurement information
Specifications
- Maximum Line speed:
400 m/min | 1,300 ft/min
Exact max. speed will depend on application - Minimum detectable defect size:
0.025 mm and up | 0.001″ and up - Outer Diameter Range:
0.01 mm – 30 mm | 0.0004” – 1.18”
Other diameters available upon requests - Camera Configuration
3 camera – 100% coverage of tube circumference - Pixels per square mm
~1,500 for small diameter tubing - Percent overlap between images:
5% - Image processing:
All images from all cameras are read, enhanced and analyzed, resulting in 100% product coverage at maximum line speed - Lighting:
LED - Location:
Before Printer, on tubes without print legends
Can optionally be installed after the printer
- Type of defects detected
- Gels
- Voids
- Pin Holes
- Neck downs
- Bulges
- Scratches
- Contaminants
- Discolorations or other imperfections
- Dimensions
- Without Stand:
229 mm x 559 mm x 483 mm – L x W x H
9″ x 22″ x 19″ – L x W x H - With Stand:
840 mm x 635 mm x 1625 mm – L x W x H
33″ x 25″ x 64″ – L x W x H - Custom stands can be built
- Without Stand:
- Power Supply:
110V or 220V, 50/60 Hz

