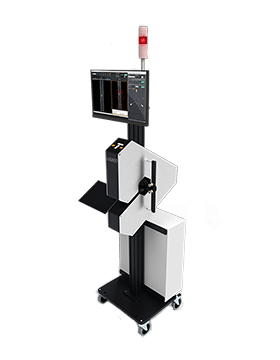
LN3800
Cable and Wire, Lump & Neckdown Detector
The 3-camera lump and neck-down detector captures defect images and saves them with their dimensional information. As a result, you can take your quality control to the next level with Taymer’s image-viewing software, ensuring uncompromised product integrity for cable and wire.
The LN3800 system is an all-inclusive solution offering a lump and neck-down detector alongside multi-axis diameter measurement for the entire product length. This technology captures diameter fluctuations by using three precision axes.
With the LN3800 you can integrate data with your existing machinery for an efficient, automated workflow. The user interface provides real-time insights into the product’s diameter measurements. In short, the LN3800 system brings control right to your fingertips.
Accurate, Multi-Axis Diameter Measurement
The system offers full lump and neck-down detection and multi-axis diameter measurement along your product’s length. Through three precise axes, it captures diameter shifts with accuracy. Integrate this data with other in-line machinery. It will make your workflow simpler and automated.
Quality Assurance
Count on the LN3800 for precise multi-axis dimensional measurement to detect lump and neck-downs. It captures defect images, saving them with dimensional data—useful for internal and external quality control reports. The user-friendly interface of the lump and neck-down detector empowers engineering and production supervisors to quickly examine defects. This lets them tackle problems before products reach customers, averting field failures.
Features
- Detects bulges, neck-downs, and lumps on cable jackets, tubes, and bare wires
- Support line speeds up to 1000 meters per minute | 3280.84 feet per minute
- 3-camera configuration that provide 360° coverage of your product
- Diameter variation of 0.1 mm and up | 0.0039” – and up
- Saves defect images and length information as they are detected
- Alerts the operator and production machinery if defects are found
Specifications
- Maximum line speed:
1000 m/min | 3280.84 ft/min - Detectable diameter range:
0.01 mm and up | 0.0039” and up - Pixels/mm²:
~300 for small diameter product - Camera configuration:
3 cameras - Image processing:
All images from all cameras are read, enhanced and analyzed, resulting in 100% product coverage at maximum line speed
- Defect Types:
- Neck-Downs
- Bulges
- Diameter Variations
- Lumps
- Lighting:
LED - Power supply:
110 V or 220 V

